Wireshark is a network sniffing, packet capture, and analysis tool. It is a very popular free and open-source tool that is initially released in 1998. Originally it was named “Etheral” but in 2006 named “Wireshark”. Even Wireshark is a cross-platform tool that is supported by Linux, Windows, MacOSX, Android, and BSD it was initially created for the Linux platform.
Install Wireshark For Ubuntu, Debian, and Mint
The apt-based distributions provide the Wireshark with the package named wireshark, wireshark-qt, wireshark-gtk etc. The wireshark package is the core package that provides the libraries of the wireshark and wireshark-gtk and wireshark-qt are GUI part of the wireshark. The wireshark-gtk is absolute and the wireshark-qt should be installed with the following command.
First we will show the Wireshark package information with the apt show command to learn which version of the wireshark is provided.
$ sudo apt show wireshark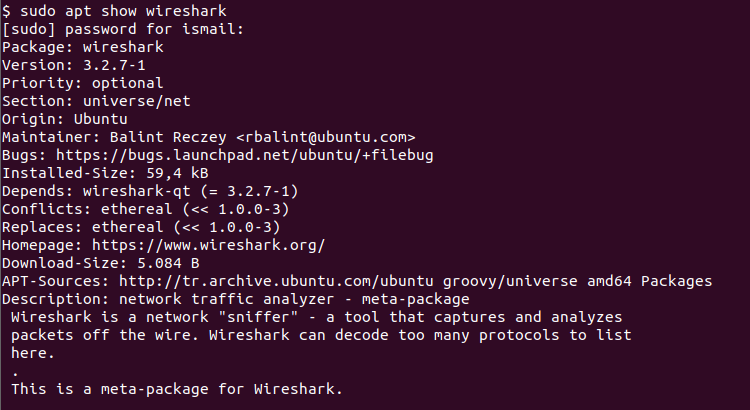
We will install the Wireshark by just providing the wireshark and wireshark-qt package names to the “sudo apt install” command. But installing the wireshark-qt will also automatically install the wireshark package as a dependency without a problem.
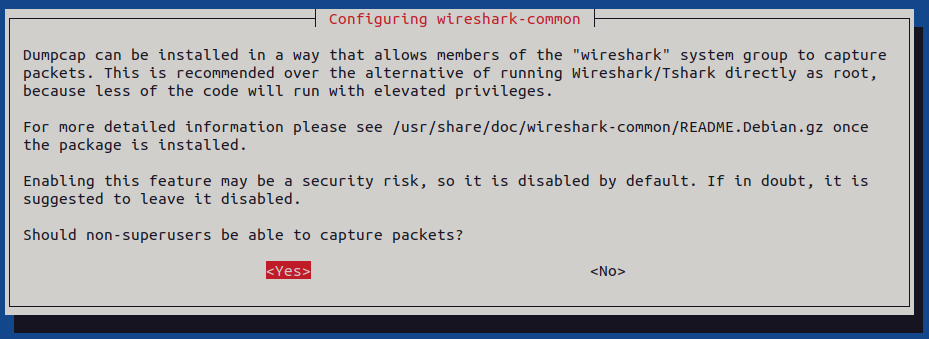
$ sudo apt install wireshark wireshark-qtDuring the install, we will be asked with the following screen if non-superusers be able to capture packets. This simply means do you want to enable normal users to capture network packets. I urge you to accept this by clicking on the <Yes> like below.
Install Wireshark For CentOS, Fedora and RHEL
Wireshark also provided for the yum and dnf based distirbutions like CentOS, Fedora, RHEL. The yum install or dnf install commands can be used to install the Wireshark. The package information about the wireshark can be displayed with the dnf info or yum info command like below.
$ dnf info wireshark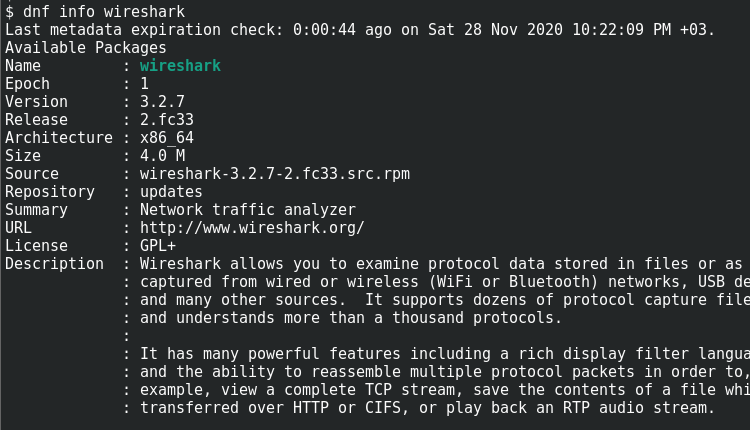
We can install the wireshark with the following yum install or dnf install command. The package name is wireshark. The root privileges can be provided with the sudo command like below.
$ sudo dnf install wiresharkOr the yum install command can be used like below.
$ sudo yum install wiresharkWireshark Permission
Wireshark mainly reads the network interface and captures packets. These actions require root or Administrator privileges where in order to use the Wireshark. The current user needs to be added to the wireshark group to get the required privileges. By using the following command the current user gets the required privileges to read network packets.
$ sudo usermod -aG wireshark $(whoami)Open Wireshark
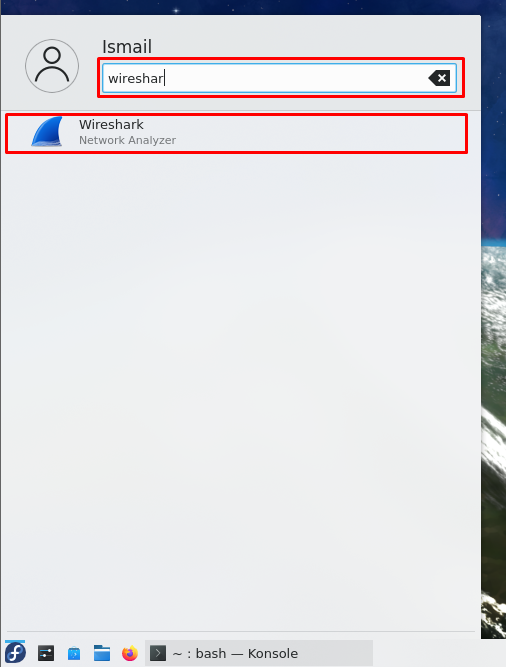
Wireshark can be opened in different ways from the Start Menu or command-line interface. Just type the “wireshark” to the start menu. In the following example, the KDE desktop environment provides the Wireshark from the start menu like below.
Alternatively, the command line interface can be used to start Wireshark. The wireshark command can be used to start Wireshark from the command line interface or bash like below.
$ wireshark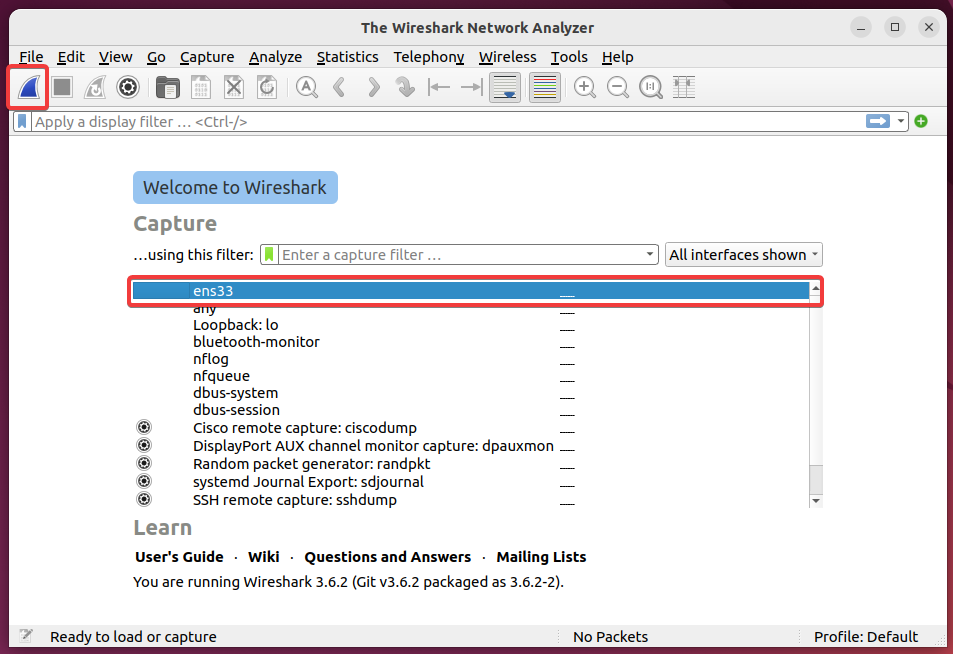
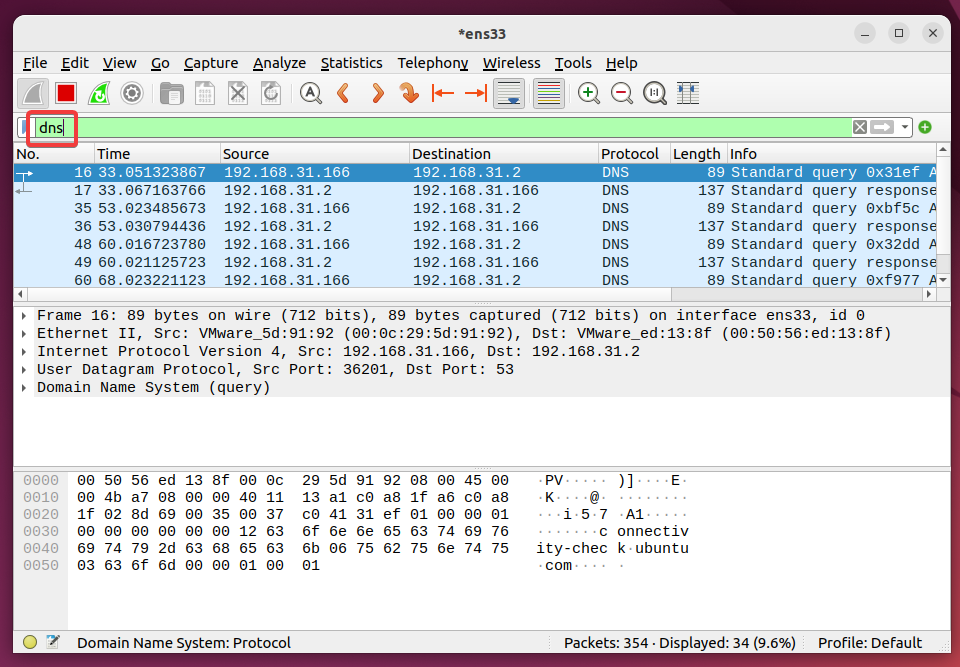
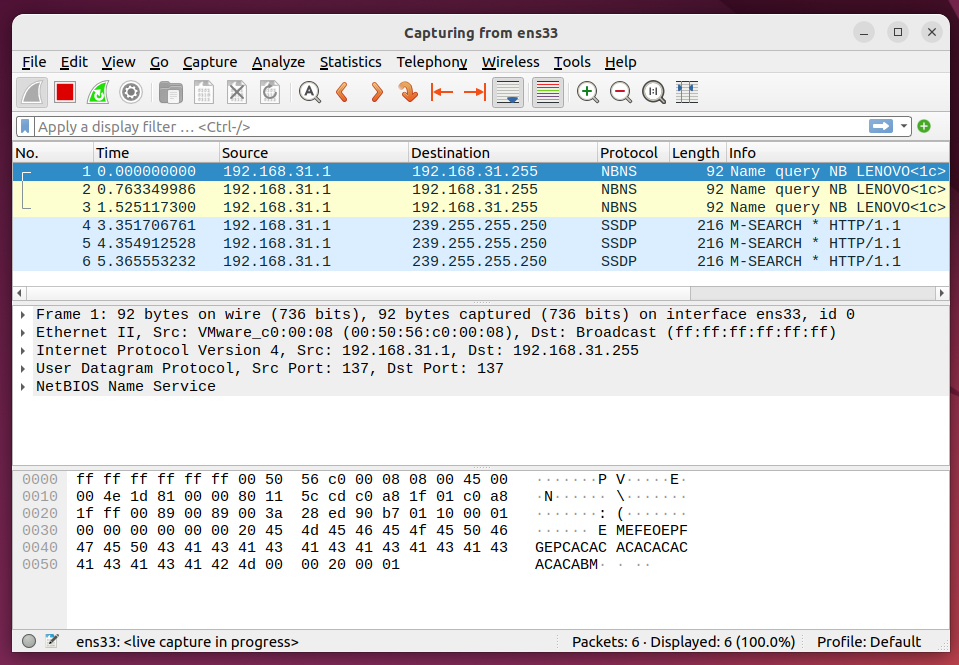
Captured packets are displayed on the main screen as a list in the upper pane. The packet structure is displayed in the middle pane.
Filter IP Address Wireshark
Wireshark provides a lot of different filtering options for the captured packets. One of the most popular cases is filtering IP Addresses in Wireshark. The ip.addr is used for filtering and equal sign is used to set IP address for filter.
ip.addr == 192.168.31.166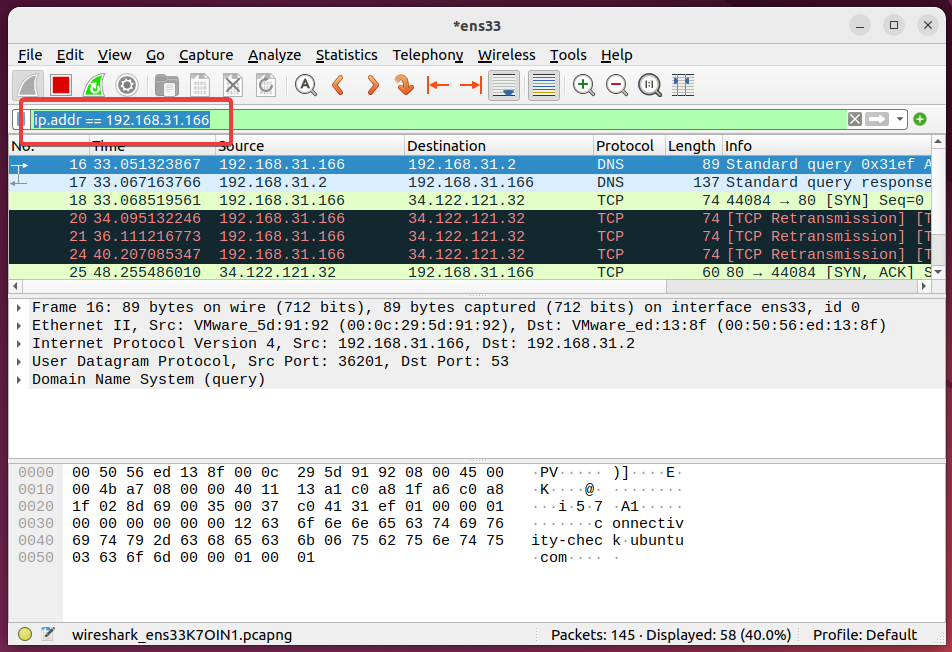
Filter Protocol with Wireshark
Another popular filtering option is filtering packets according to their protocols. Just typing the protocol name into the filter bar is enough. In the following example, we filter the DNS protocol.
dns