
Linux operating system provides the dmesg command in order to display kernel-related messages. The dmesg command provides a lot of different messages as the kernel is the heart of Linux. The dmesg command provides message-related storage, modules, interrupts, etc. As a low-level tool to provide information, the dmesg command requires root privileges. The sudo command should be used with the dmesg command.
List All dmesg Messages
We can use the dmesg command like below. We can see that a lot of different type of messages are displayed.
$ sudo dmesg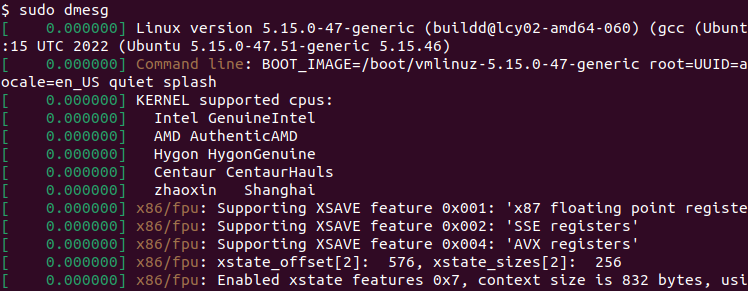
Message Pagination with less
The dmesg command provides lots of messages which fill the terminal and creates a lot of pages. If we are specifically looking for something we need to navigate or paginate it properly. The less command can be used for navigation easily by pressing the Space key.
$ sudo dmesg | less| Navigation Key | Description |
|---|---|
| Up Arrow | Go Back One Line |
| Down Arraw | Go Forward One Line |
| /TERM | Search TERM |
| Space | Go Forward One Page |
Color dmesg Message
As there are lots of messages reading them is not easy. But coloring may help read messages in a more comfortable way. The -L optin can be used to color dmesg messages.
$ sudo dmesg -Ldmesg Human-Friendly Format
the dmesg command mainly provides system-level messages which are not human-friendly to read and understand. We can make these messages more human-friendly by adding the -H option. The -H option displays time stamps as date and time.
$ sudo dmesg -Hdmesg Human-Readable Format
We can also display in a more human-friendly way that displaying the minute information. The -T option is also used to display human-friendly way that also displays the minute for every line.
$ sudo dmesg -Tdmesg Monitor Real Time
The dmesg buffer is filled in real time but when we run the dmesg command only the most current messages are displayed. Over time some new messages may come to the dmesg buffer but they are not displayed in real time. We can display the dmesg messages in real-time using the -follow option.
$ sudo dmesg --followFirst 10 dmesg Messages
We can print the first 10 dmesg messages by using the head command like below.
$ sudo dmesg | head -10Last 10 dmesg Messages
We can print the first 10 dmesg messages by using the tail command like below.
$ sudo dmesg | tail -10Filter Specific Strings
As there are lots of dmesg messages we may want to filter them for specific strings. The grep command can be used to filter specific strings. In the following example, we filter lines that contain “security”.
$ sudo dmesg | grep -i "admin"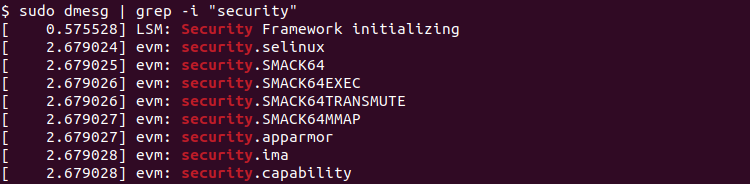
dmesg Message Levels
The kernel or dmesg messages are set with different levels to specify the message importance.
- emerg: The system is unusable.
- alert: Action must be taken immediately.
- crit: Critical conditions.
- err: Error conditions.
- warn: Warning conditions.
- notice: Normal but significant condition.
- info: Informational.
- debug: Debug-level messages.
Filter Specific Message Levels
We can filter the dmesg messages for specific levels. The -l option is used to filter for the specific level. The -l option comes from the “level”.
$ sudo dmesg -l warn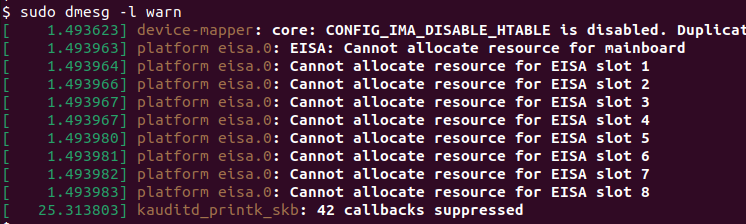
Filter Multiple Message Levels
We can also filter dmesg messages for multiple levels. We specify the level names by separating them with commas.
$ sudo dmesg -l warn,errdmesg: read kernel buffer failed: Operation not permitted
Some novice users may try to run the dmesg command without the sudo command. The dmesg command requires root privileges and if not provided the “dmesg: read kernel buffer failed: Operation not permitted” error is displayed. We can solve this error by adding the sudo command like below.
$ sudo dmesg