Pi-Hole is a network-wide adblocking software that can be installed on Linux distributions like Ubuntu, RaspberryPi. Also, the Pi-Hole can be installed on Docker containers easily. The Pi-Hole is used as a DNS server and checks every DNS request and domain name if it is secure. If the requested domain name is not secure the DNS request is blocked and redirected into a default warning page. Also, the Pi-Hole can be used to block ads which can make the bloggers upset. The usage of the Pi-Hole also improves the network performance and provides statistics about requests by monitoring them.
Install Pi-Hole
The Pi-Hole project provides a bash scripting that starts and progresses the installation automatically. Even there are different ways the curl command can be used to download and run the installation script like below.
$ curl -sSL https://install.pi-hole.net | bash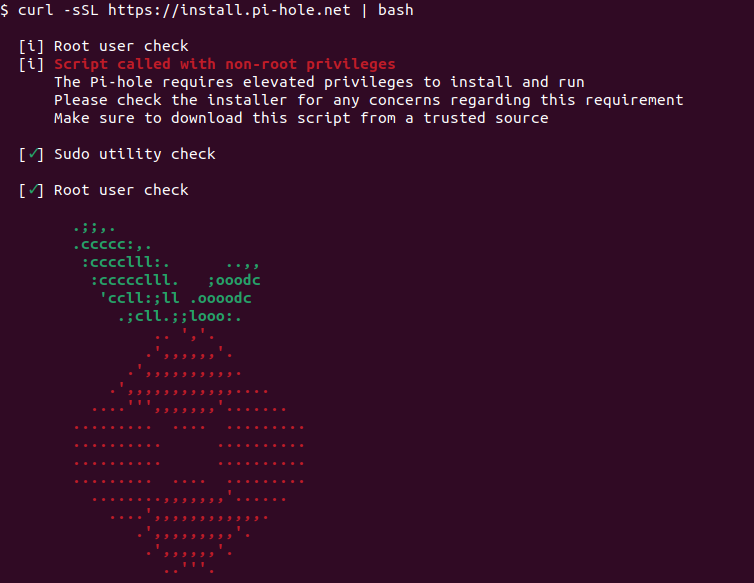
[✓] Update local cache of available packages
[✓] Checking apt-get for upgraded packages… 1 updates available
[i] It is recommended to update your OS after installing the Pi-hole!
[i] Installer Dependency checks…
[i] Checking for dhcpcd5 (will be installed)
[i] Checking for git (will be installed)
[✓] Checking for iproute2
[✓] Checking for whiptail
[i] Checking for dnsutils (will be installed)
[i] Processing apt-get install(s) for: dhcpcd5 git dnsutils, please wait…
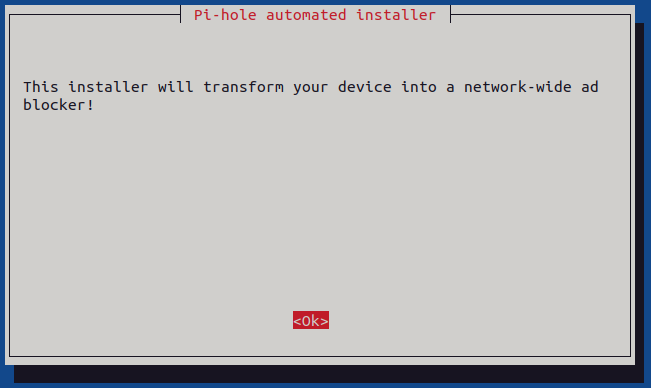
The installation starts with the following screen. During the Pi-Hole installation, ncurses based GUI is used which is way better than the command-line interface, etc. Just press Enter to jump to the next step.
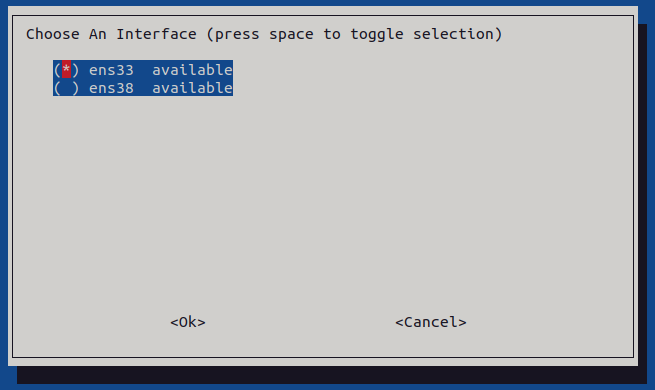
In this step the network interface we want to run the Pi-Hole DNS services. The Up and Down Arrow or Space key can be used to change the current selection.
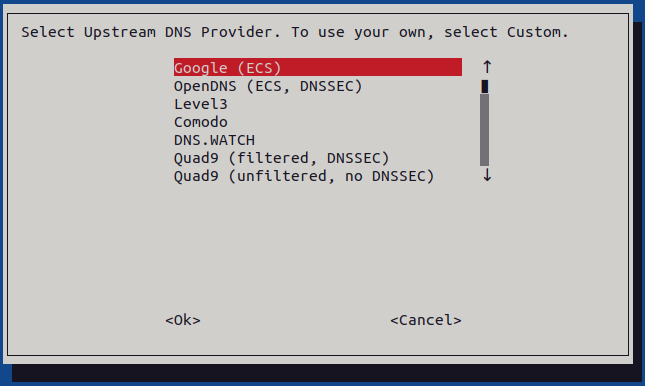
In this step, we select an upstream DNS provider where DNS requests made to Pi-Hole are redirected into this DNS server. Google DNS Service is selected by default and according to your needs, you can change the DNS service into others like OpenDNS, Comodo, Cloudflare, etc.
In this step, the third party list in order to block ads is selected. As we can see there is only one default blacklist but after installation more can be added.

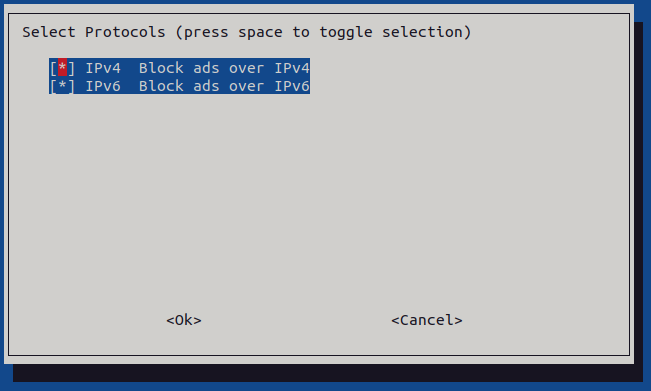
In this step, we select the IP protocol which can be IPv4 or IPv6 we want to block ads. Up and Down Arrows can be used to change current selection and space keys can be used to enable or disable.
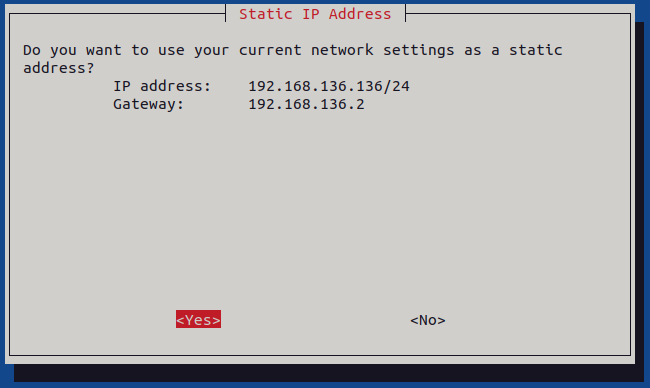
In this step, static IP configuration is done. By default, the current IP address of the host is used to set as static but alternatively, we can select No in order to set the IP configuration manually.
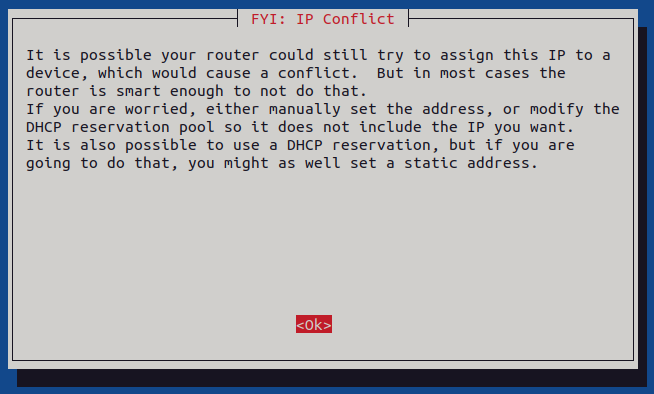
This step contains a warning about the static IP configuration which simply says that the static IP of the Pi-Hole can be assigned to different hosts by the router dynamically.
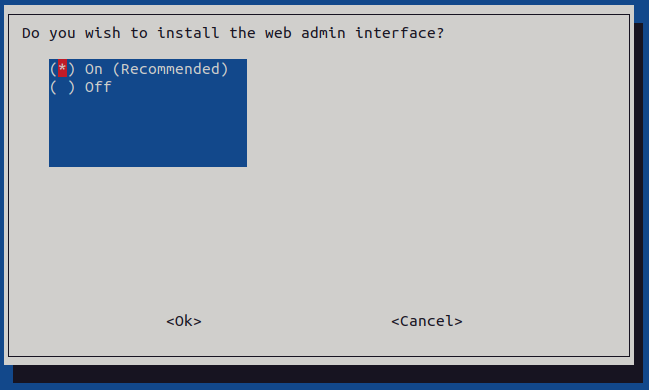
In this step, we install the web admin interface which is installed by default. Web admin interface provides an easy way to manage and configure Pi-Hole.
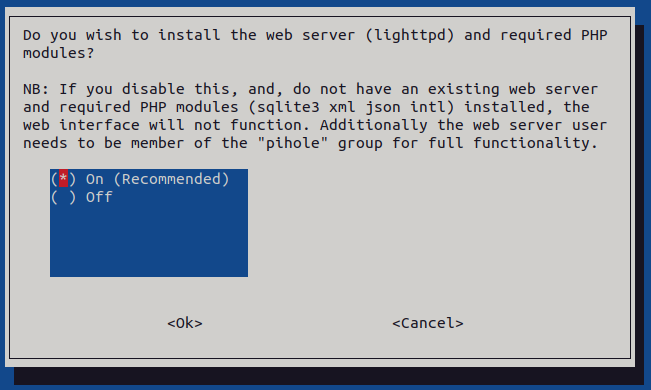
The web admin interface requires a webserver to run. It is enabled with this step.
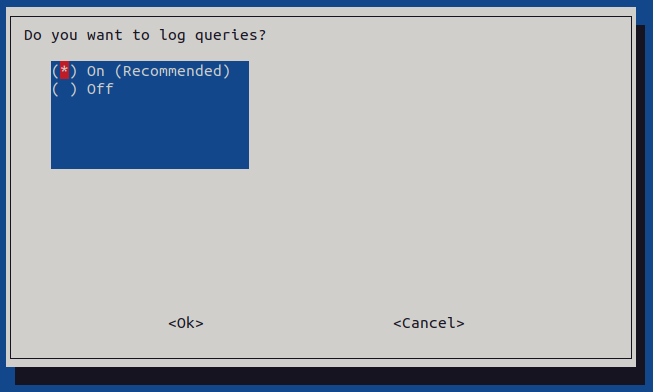
DNS queries can be logged for later review. In this step, we enabled logging DNS queries which are also recommended and enabled by default.
In following mode we specify the privacy mode which is Show everything by default.

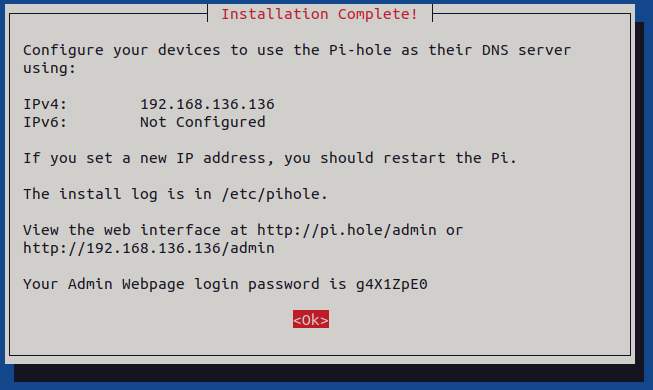
After the installation is complete we see the following screen with the “Installation Complete!” message. The IP address of the Pi-Hole is printed and also the web admin interface address, username, and password is printed. Please save the password as it is generated uniquely.
Access Pi-Hole Web Interface
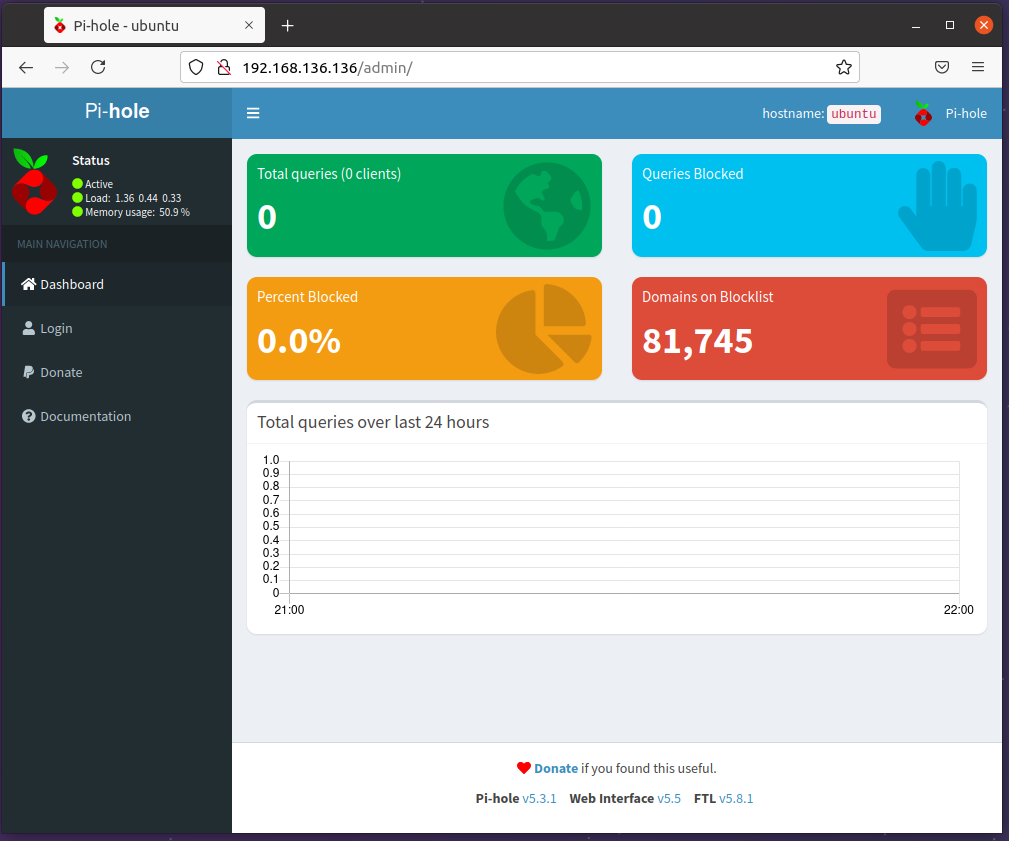
We can access the Pi-Hole Web Interface via provided admin URL. Information like Total Queries, Queries Blocked, Percent Blocked, and Domain on Blocklist information is displayed in the Dashboard like below. Also and histogram about DNS queries about the last 24 hours is displayed like below.