
Telnet is a network protocol and tool used to connect remote systems via a command-line interface. Similar to SSH, telnet can be used to manage remote systems. Telnet use the TCP port 23. Event the telnet is created by Microsoft it is popularly used Linux and network systems. In this tutorial we examine how to install telnet client, telnet server, how to connect telnet and use it.
Warning Telnet Is Not Secure
Before starting the tutorial we want to explain that the telnet protocol is not secure by default. The telnet connection is a clear text connection where the telnet traffic is not encrypted and can be easily sniffed. Also, telnet does not provide remote service verification like SSH. Even it is not secure by default some steps can be taken in order to make it secure like using SSL/TLS tunnels.
Install telnet Command
The telnet command can be installed by using the apt or dnf package managers for the related Linux distributions.
Install Telnet For Ubuntu, Debian, Mint, Kali:
$ sudo apt install telnetInstall Telnet For Fedora, CentOS, RHEL:
$ sudo dnf install telnetInstall Telnet Server (telnetd)
The telnet client connects to the telnet server in order to manage the telnet server. The telnet server should be installed for this connection. The telnet server package name is telnetd where the letter d comes from daemon. The telnet server or service can be installed like below.
Install Telnet Server For Ubuntu, Debian, Mint, Kali:
$ sudo apt install telnetd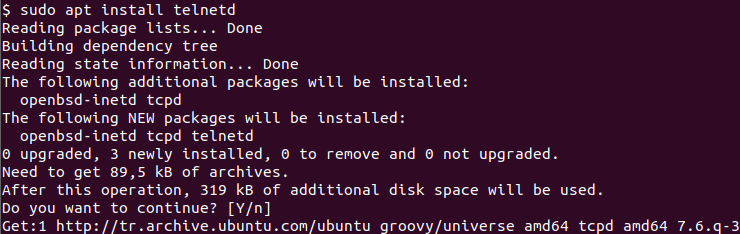
Install Telnet Server For Fedora, CentOS, RHEL:
$ sudo dnf install telnetdAllow telnet Service Port In Firewall
Most of the Linux distributions come with a firewall installed and enabled. In order to connect the telnet server, there is two way. The first one is adding an exception about telnet port which is 23 or stopping the firewall completely. In the following step, we add exceptions and allow telnet connections to the telnet server. The following command is executed in the telnet server.
$ sudo ufw allow telnetAlternatively, we can specify port number 23 like below.
$ sudo ufw allow telnetConnect Telnet Server
Telnet command can be used to connect a remote telnet server or telnet service. The IP address or hostname of the remote telnet server is provided like below.
$ telnet linuxtect.comAlternatively, the remote server IP address can be also specified like below.
$ telnet 192.168.1.1Connect Telnet Server with Non-Default Port
The telnet service default port number is 23 but in some cases, this may be different for security reasons. The non-default port number can be specified after the telnet server IP address or hostname. In the following example, we connect a remote telnet server with non-default port number 2323 .
$ telnet 192.168.1.1 2323Telnet Interactive Shell
Telnet provides an interactive shell if it is executed without any remote server IP address. The interactive shell can be used to connect remote telnet servers or print connection status etc.
$ telnet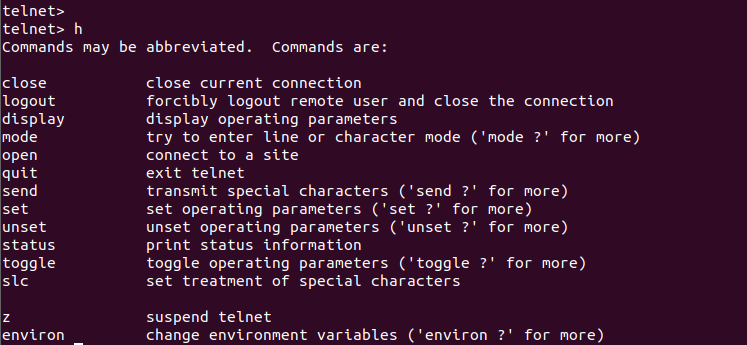
Display Telnet Connection Status
Telnet provides different useful commands. The status command can be used to show the current status of the telnet connection. The status command is executed in the telnet interactive shell.
statusClose/Logout Telnet Connection
A telnet connection can be closed or exited or logout with the close command like below.
close